Workflow Management
A workflow is a visual workbench for simplifying and automating an agent's business logic. You create, manage, and optimize workflows on a drag-and-drop interface to improve an agent's efficiency and reduce hallucinations.
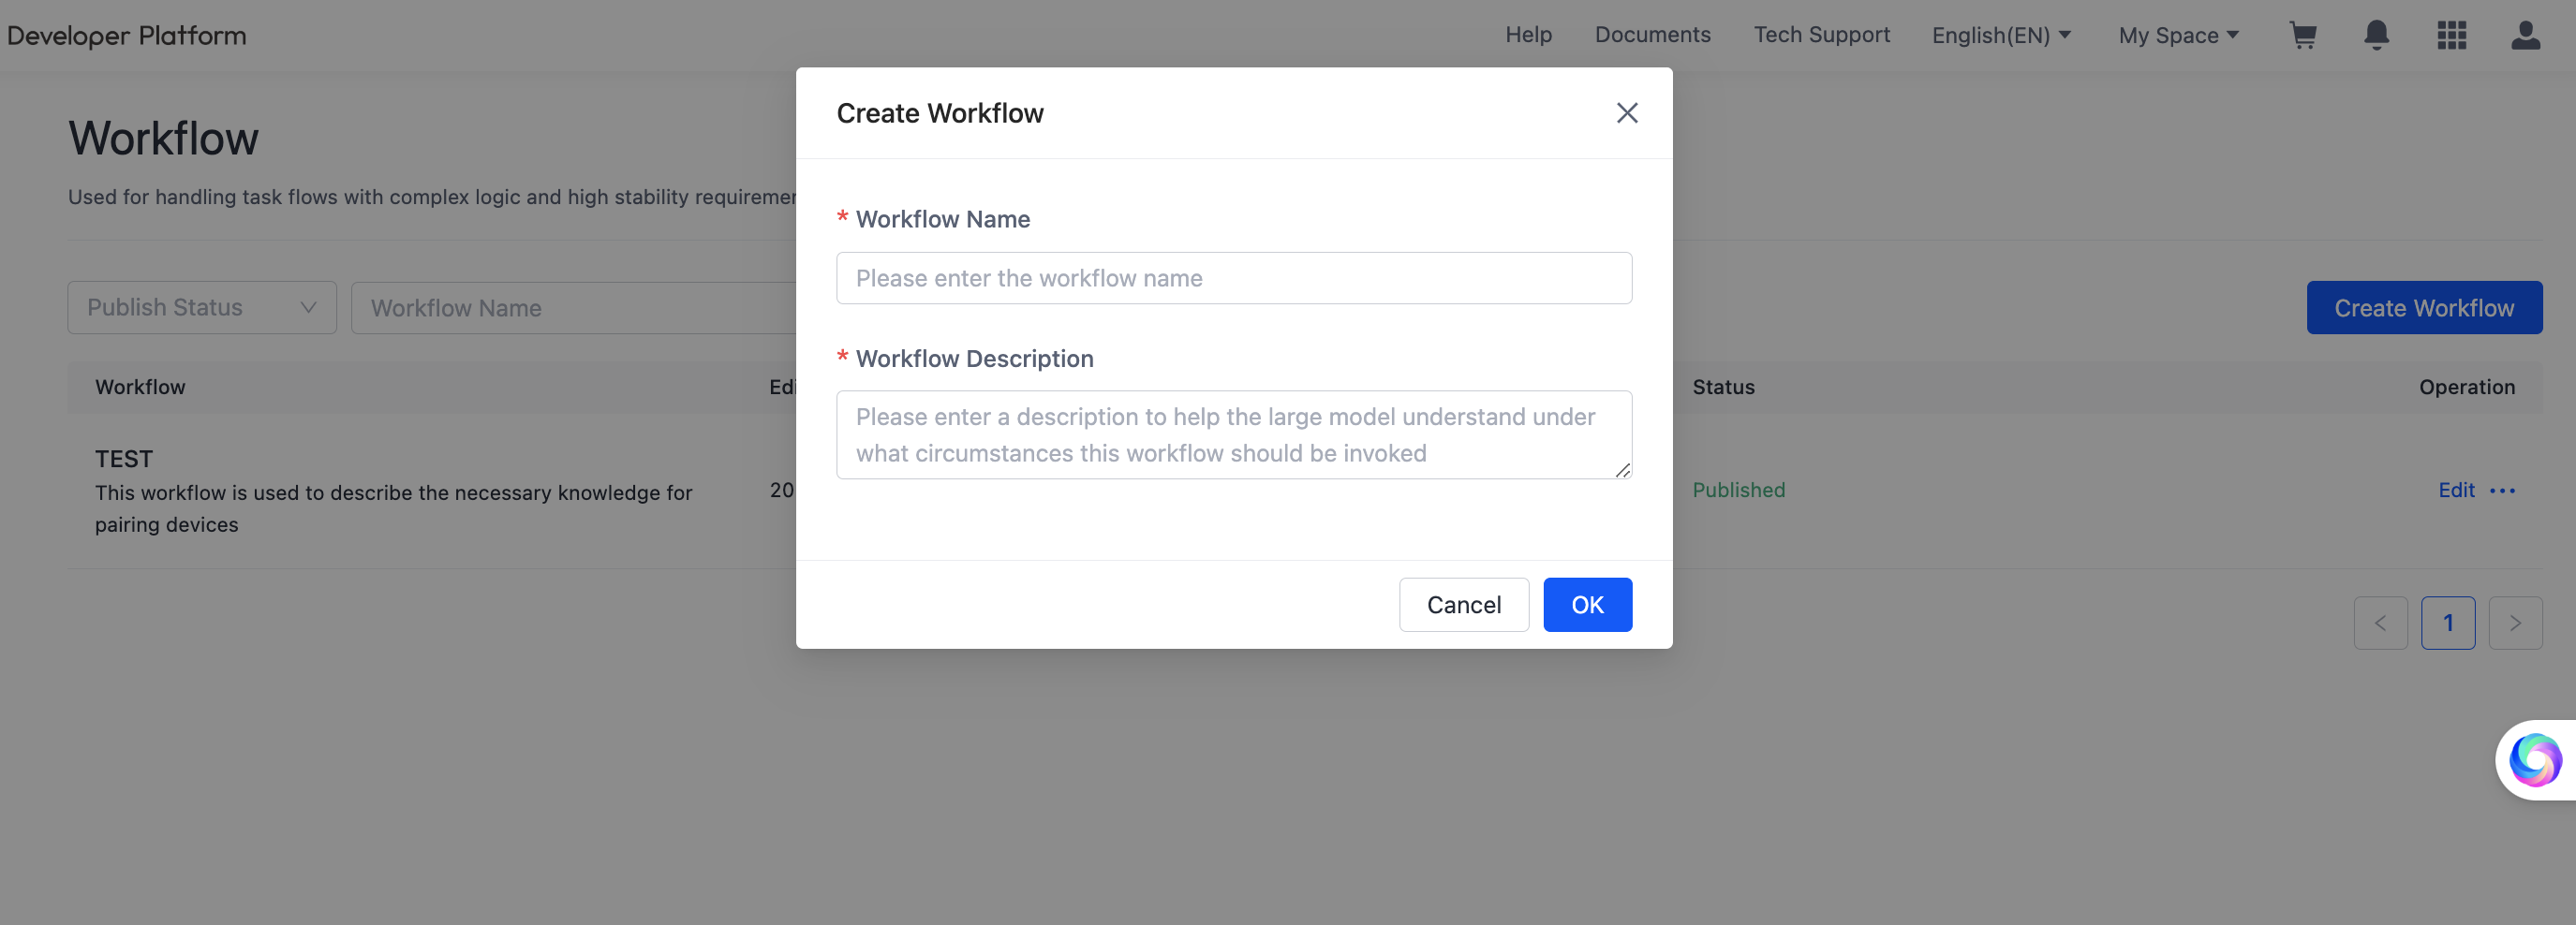
Create a workflow
On the Workflow page, click Create Workflow in the top-right corner, enter a Workflow Name and Workflow Description, and the workflow project is created.
Configure the workflow
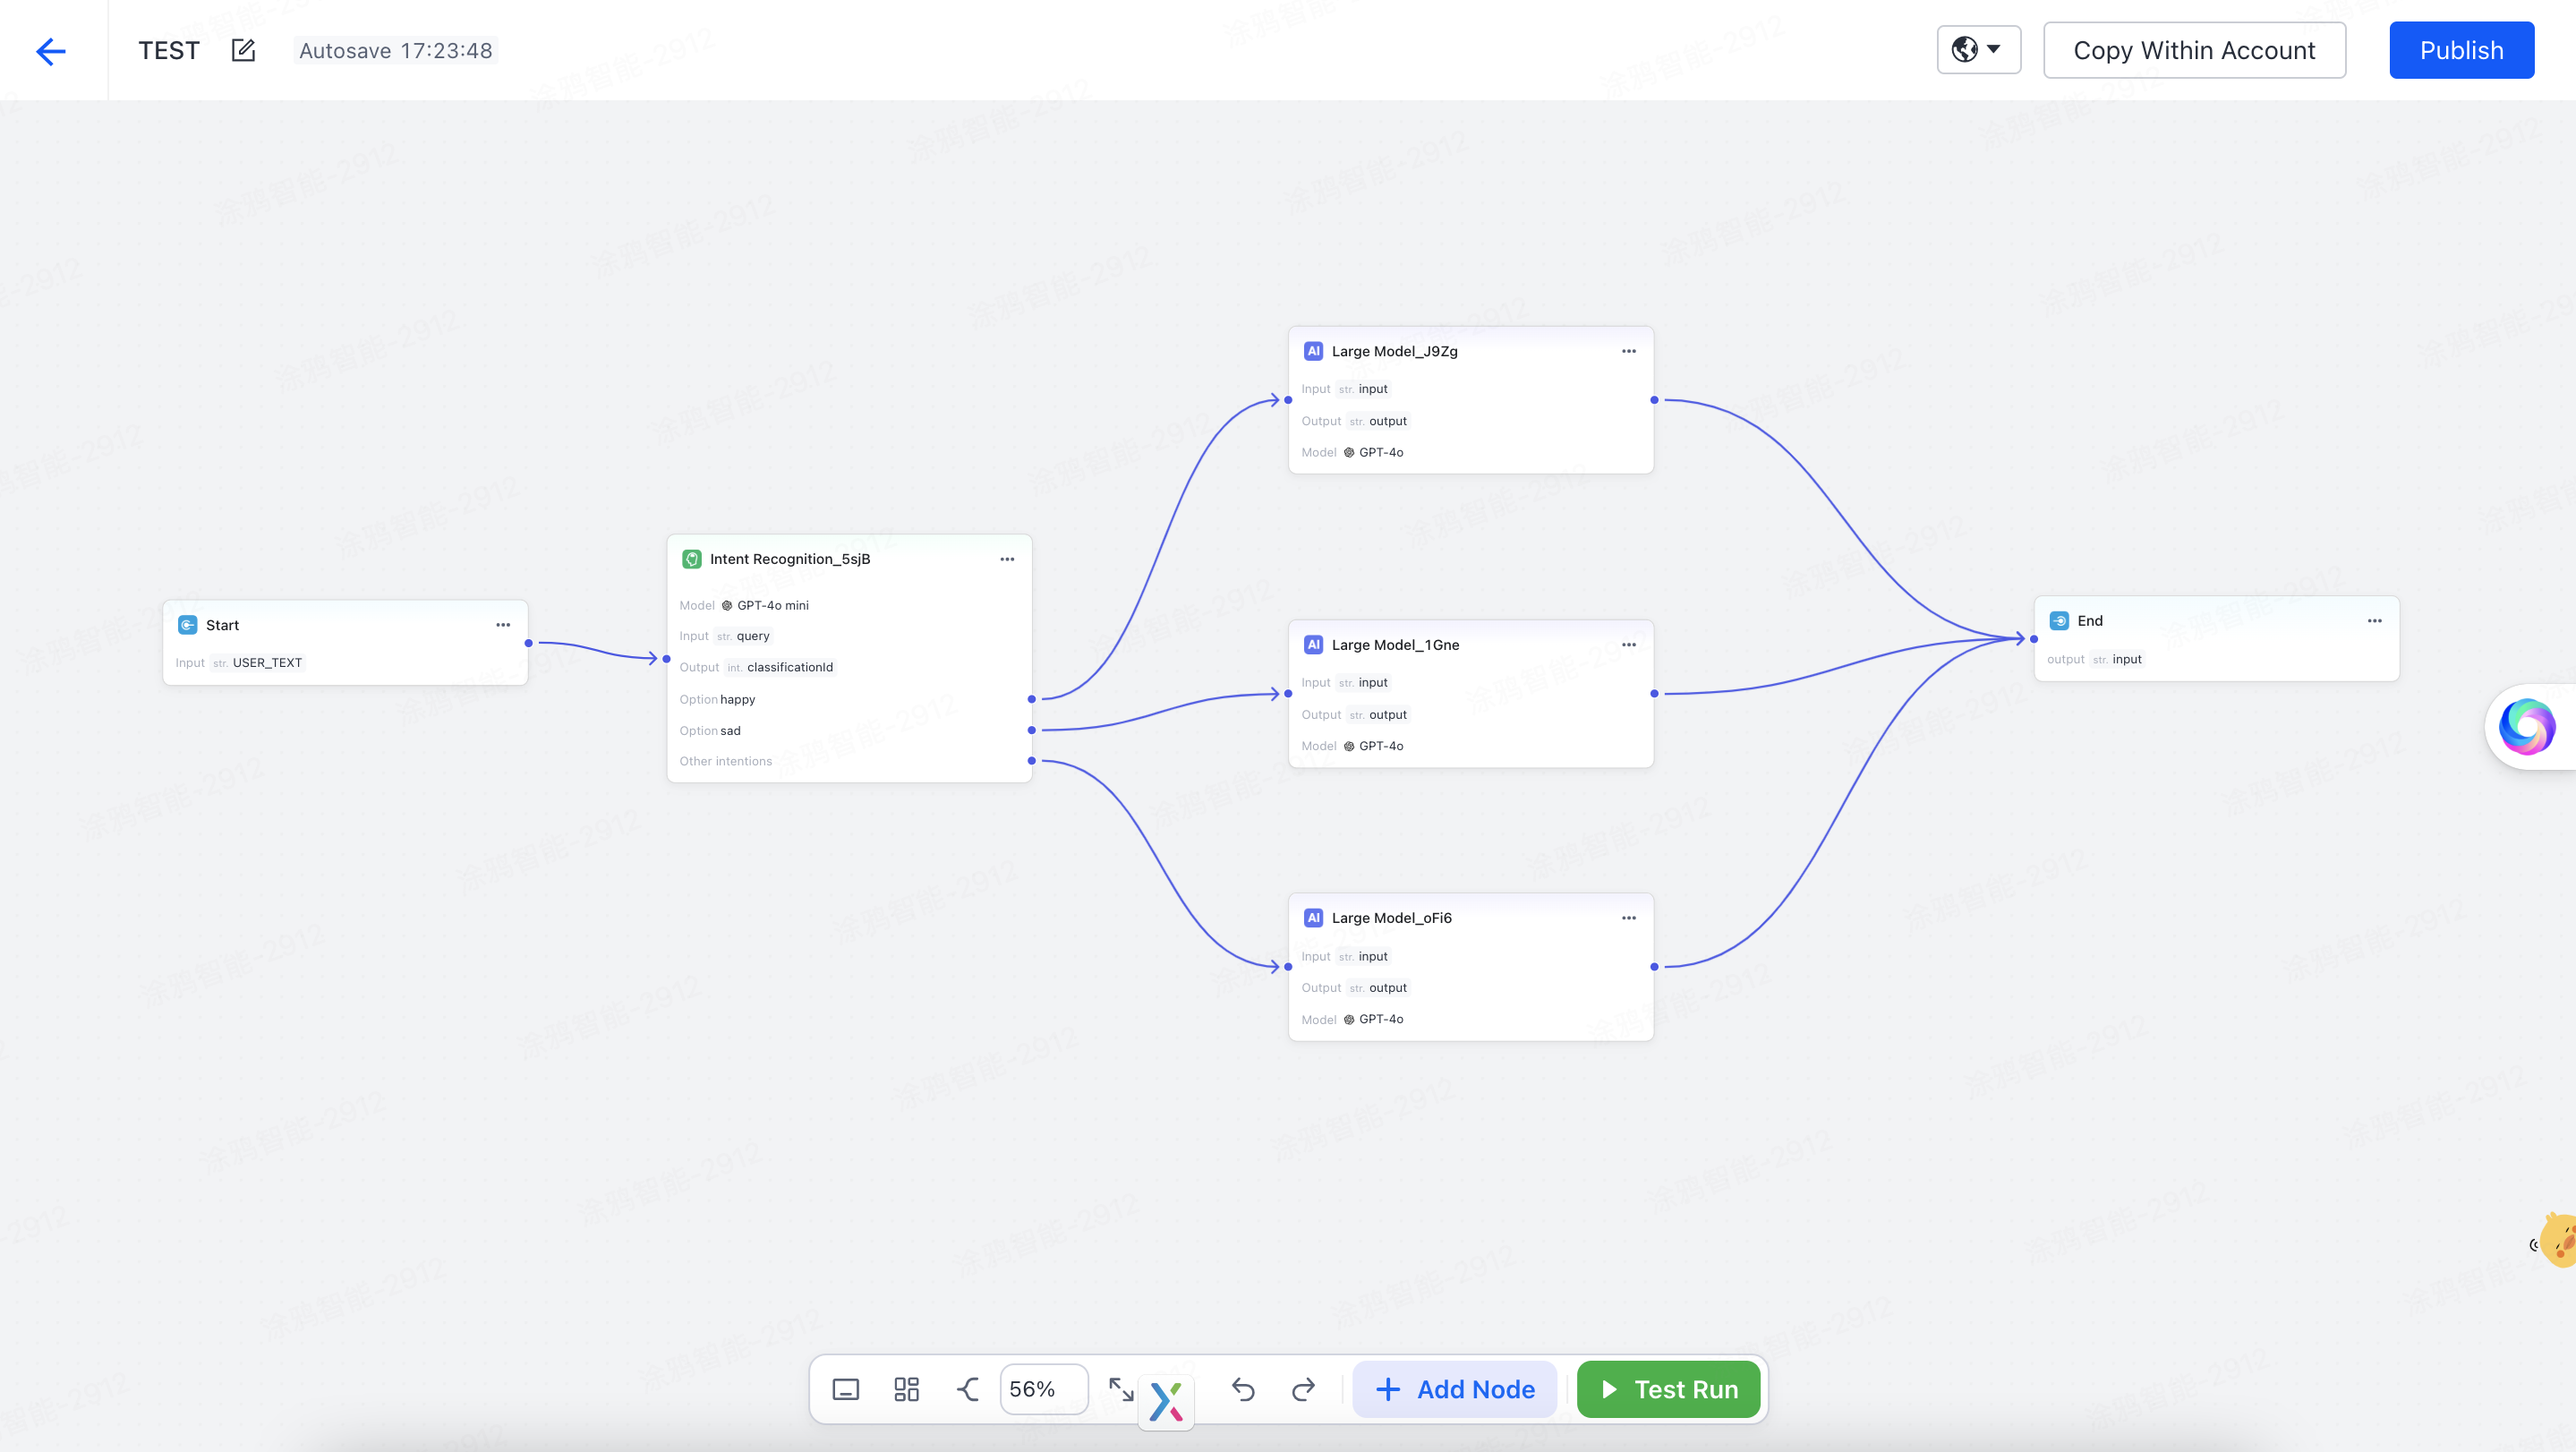
Visual workbench
Build the workflow by dragging and dropping nodes. Each node defines a distinct task or decision, which makes the whole process easy to read.
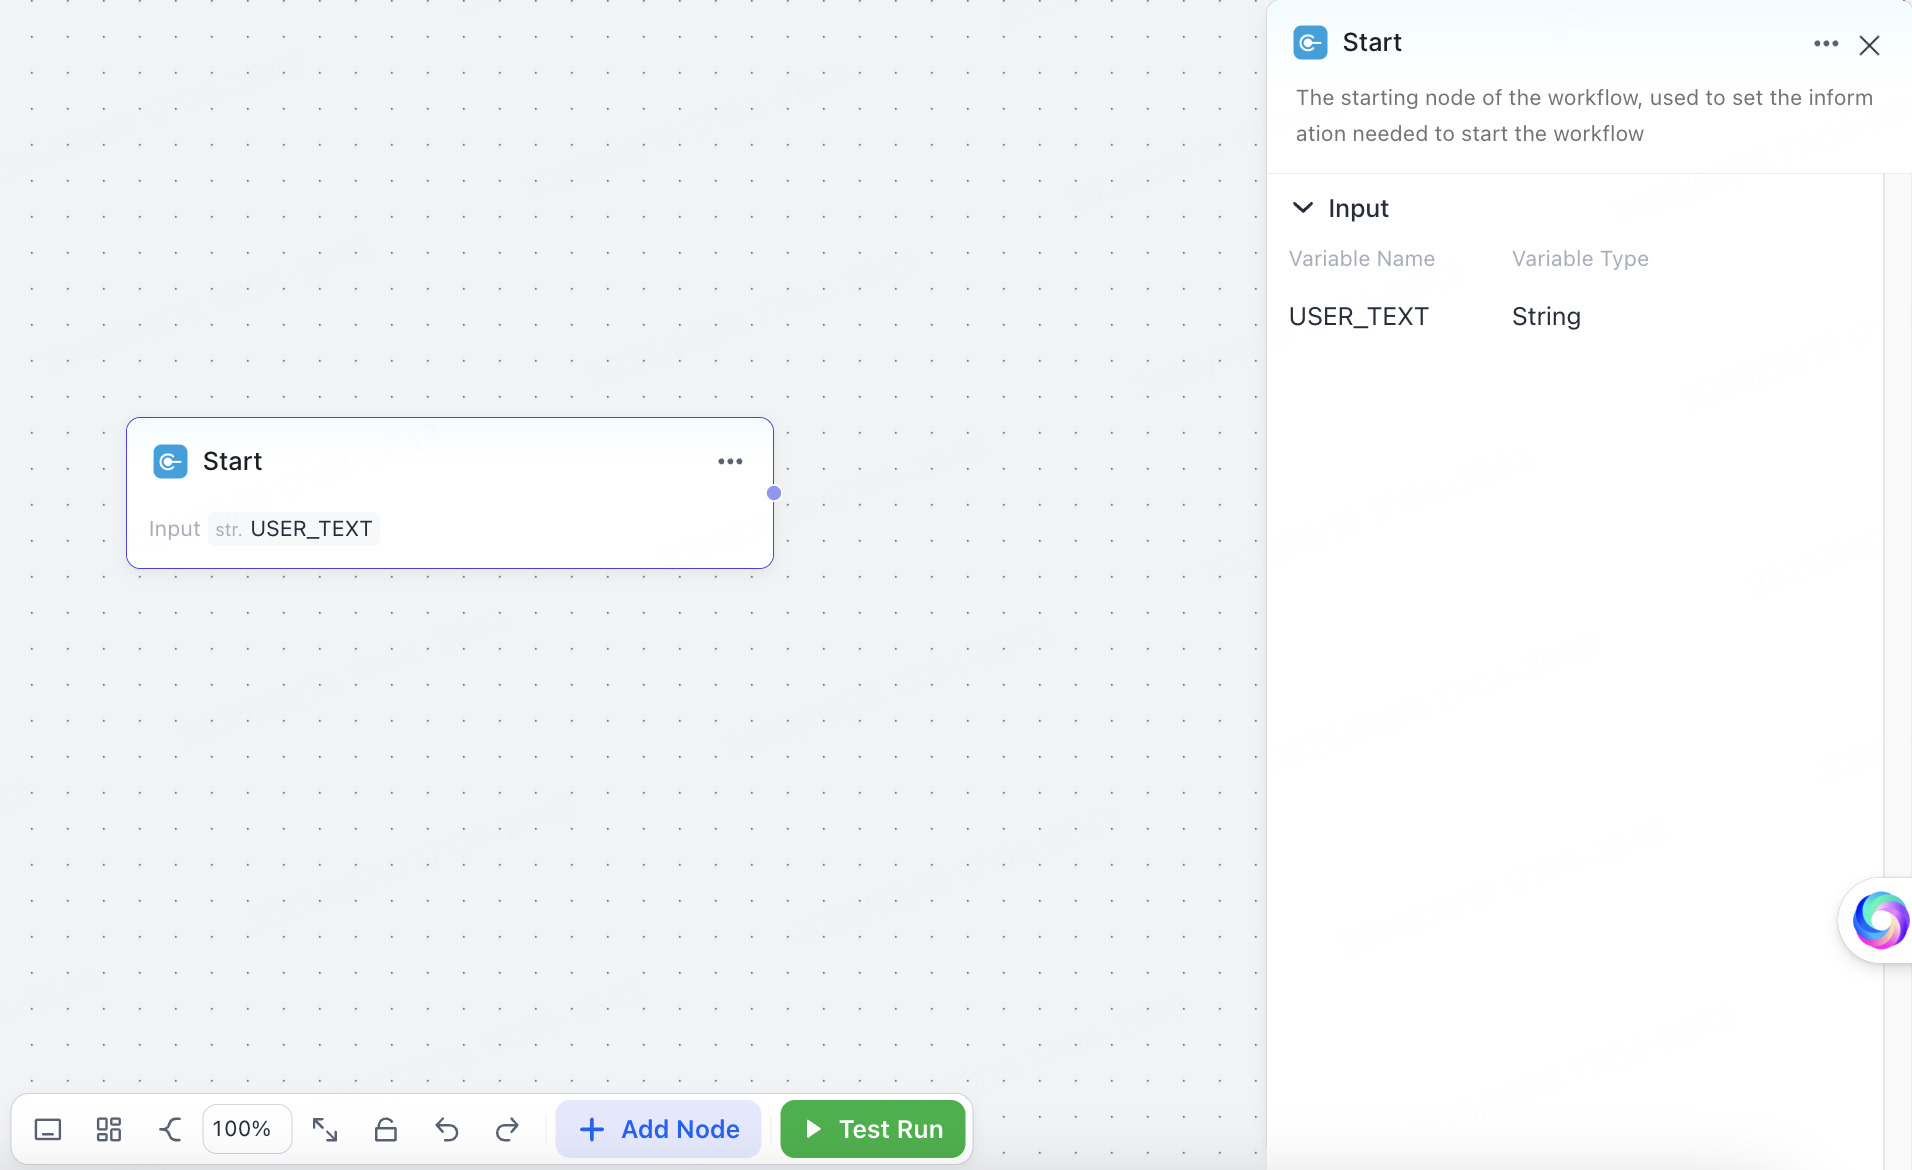
Start node
The start node defines the information needed to launch the workflow. Its default input variable is USER_TEXT.
Click Add Node to add the following nodes and build out the workflow:
Intent recognition node
The intent recognition node identifies and classifies the intent behind user input. Once you set up an intent recognition model, the system reads the user's input and classifies it accordingly.
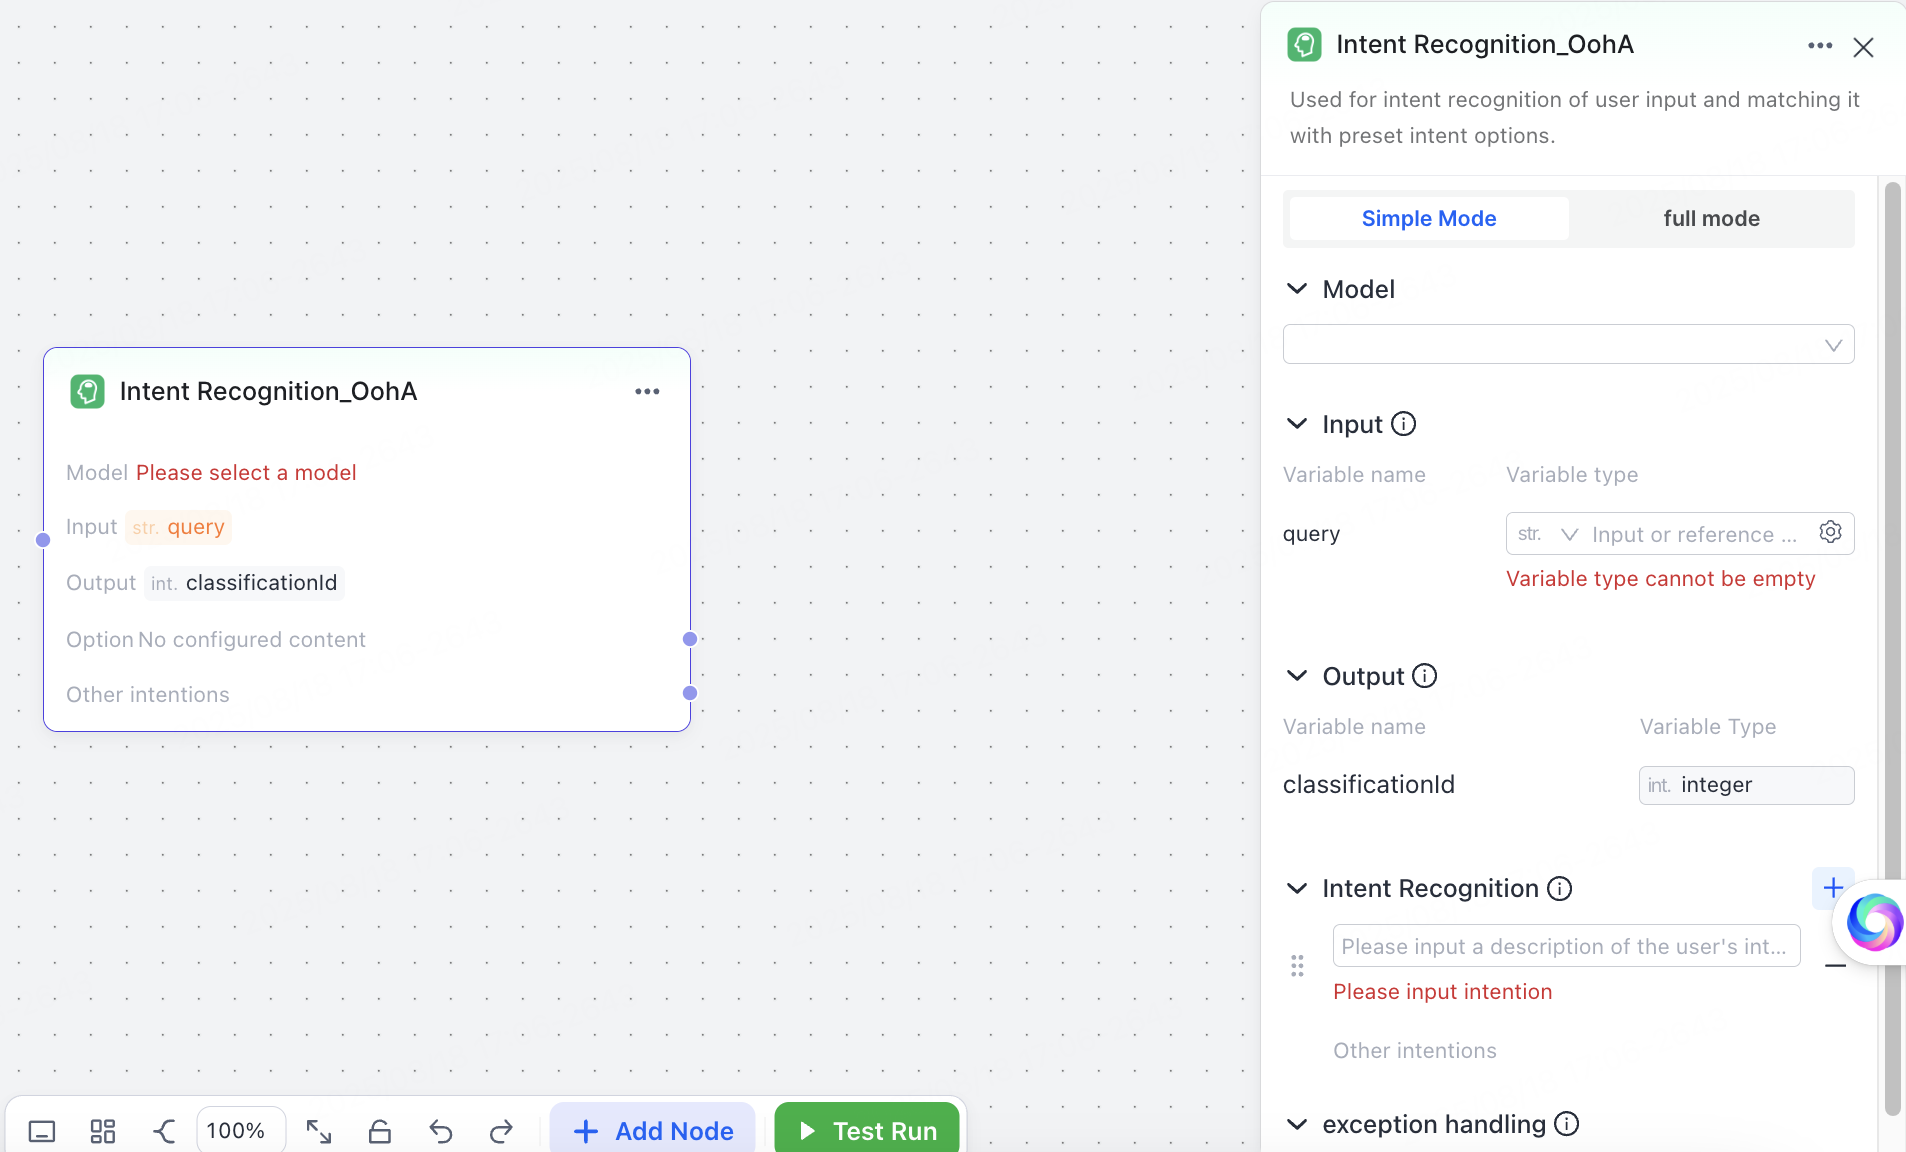
Choose simple mode or full mode.
Simple mode:
- Model — select a suitable model.
- Input — set the parameters used to determine intent. A common input is
USER_TEXT. - Intent Recognition — set the intents to recognize and the options to match against user input.
- Exception handling — set the timeout, retry logic, and exception-handling method.
Full mode adds a System Prompt with variable support on top of simple mode. The system prompt interprets the input for a deeper read of user intent.
Large language model node
The large language model node is a dialogue node built on a large model. It generates high-quality responses from the variables and prompts you configure.
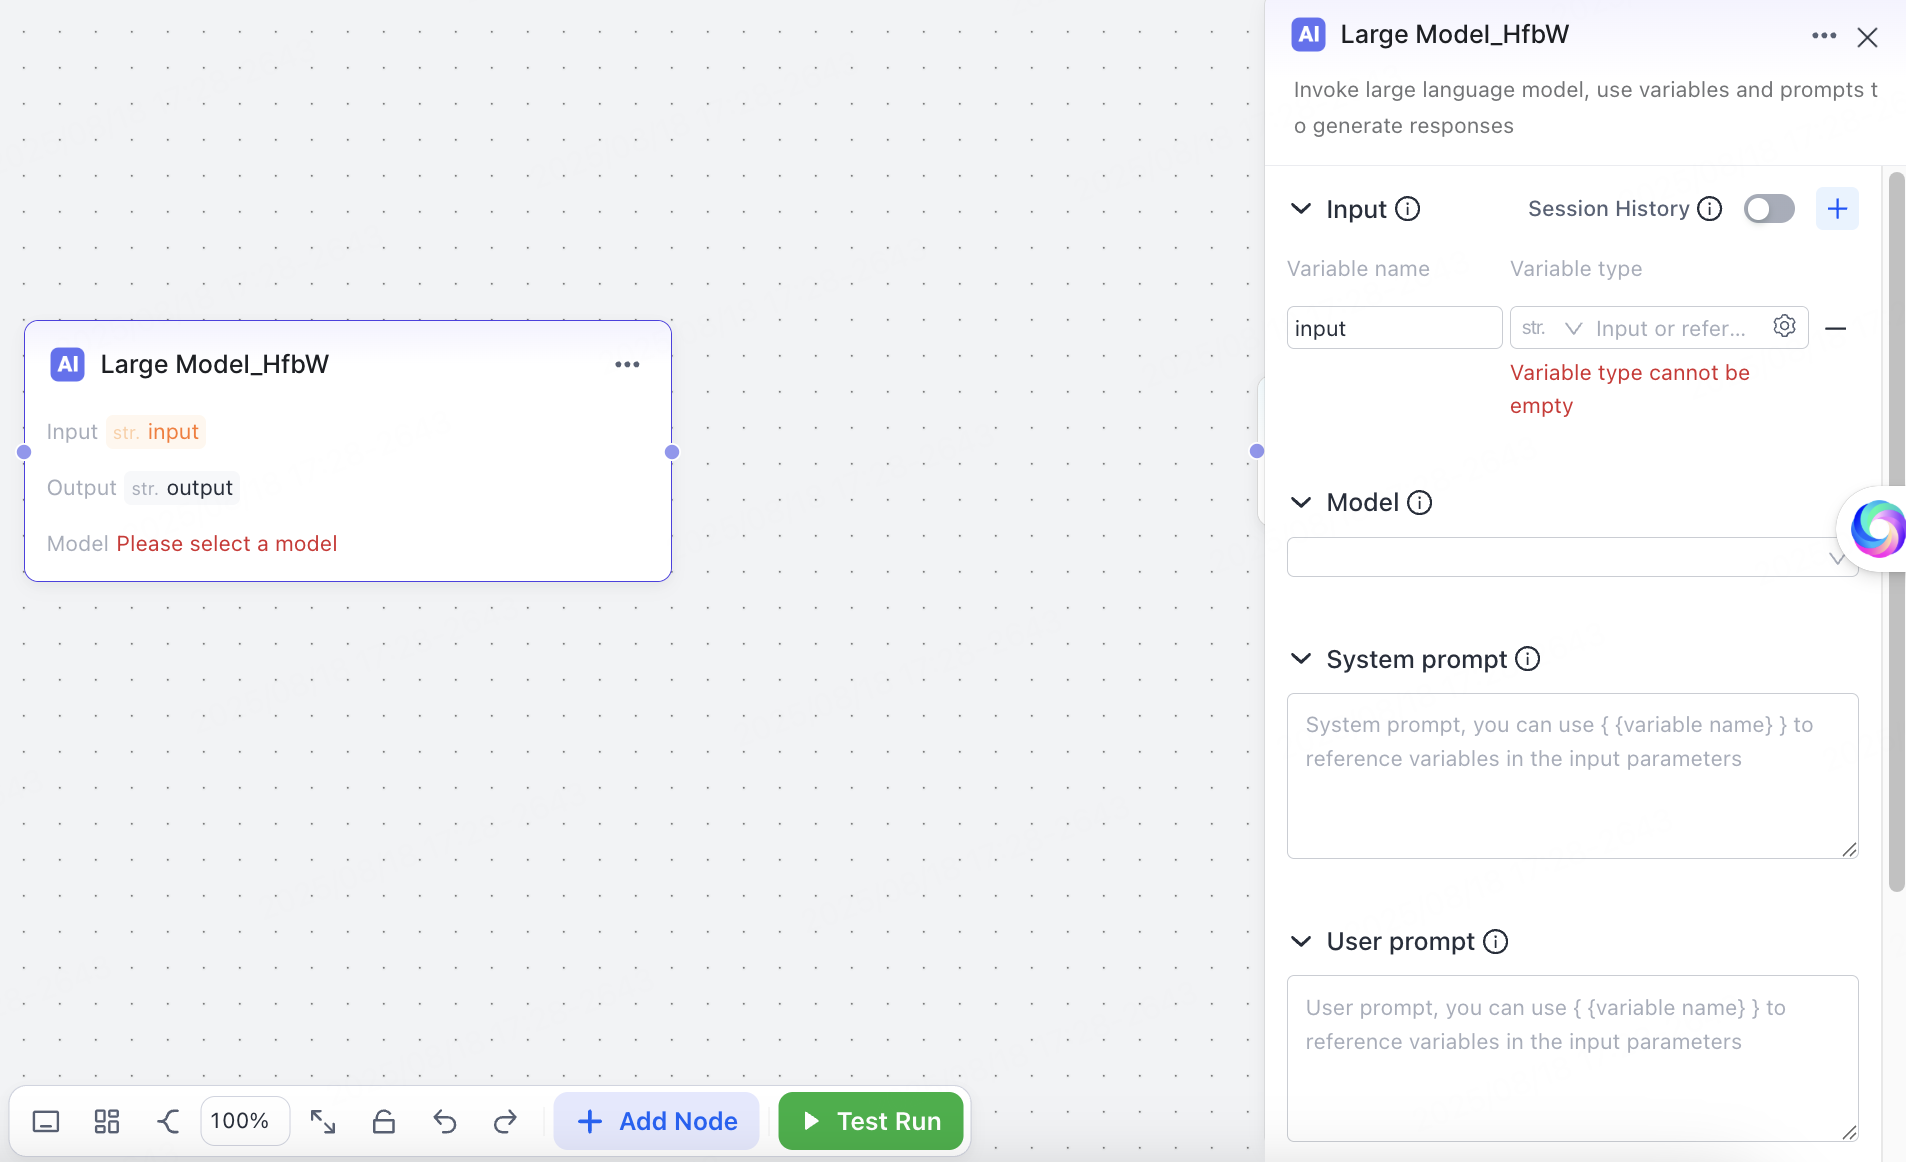
- Session history — when enabled, the node sends the session context to the model so user input stays contextually consistent.
- Input — the information to add to the prompts. Supports dynamic variable references.
- Model — select the model you want.
- System prompt — set the model's base behavior, such as role descriptions, examples, and output constraints. Supports variable-reference syntax.
- User prompt — the user instruction the model processes, such as a query or text request. The prompt typically references the user input variable
USER_TEXT. - Output — store the model's generated content as a variable value for downstream nodes.
- Exception handling — set the timeout, retry logic, and exception-handling method.
Output node
The output node supports intermediate processing and message output. It offers two output modes, streaming and non-streaming, for flexible data output.
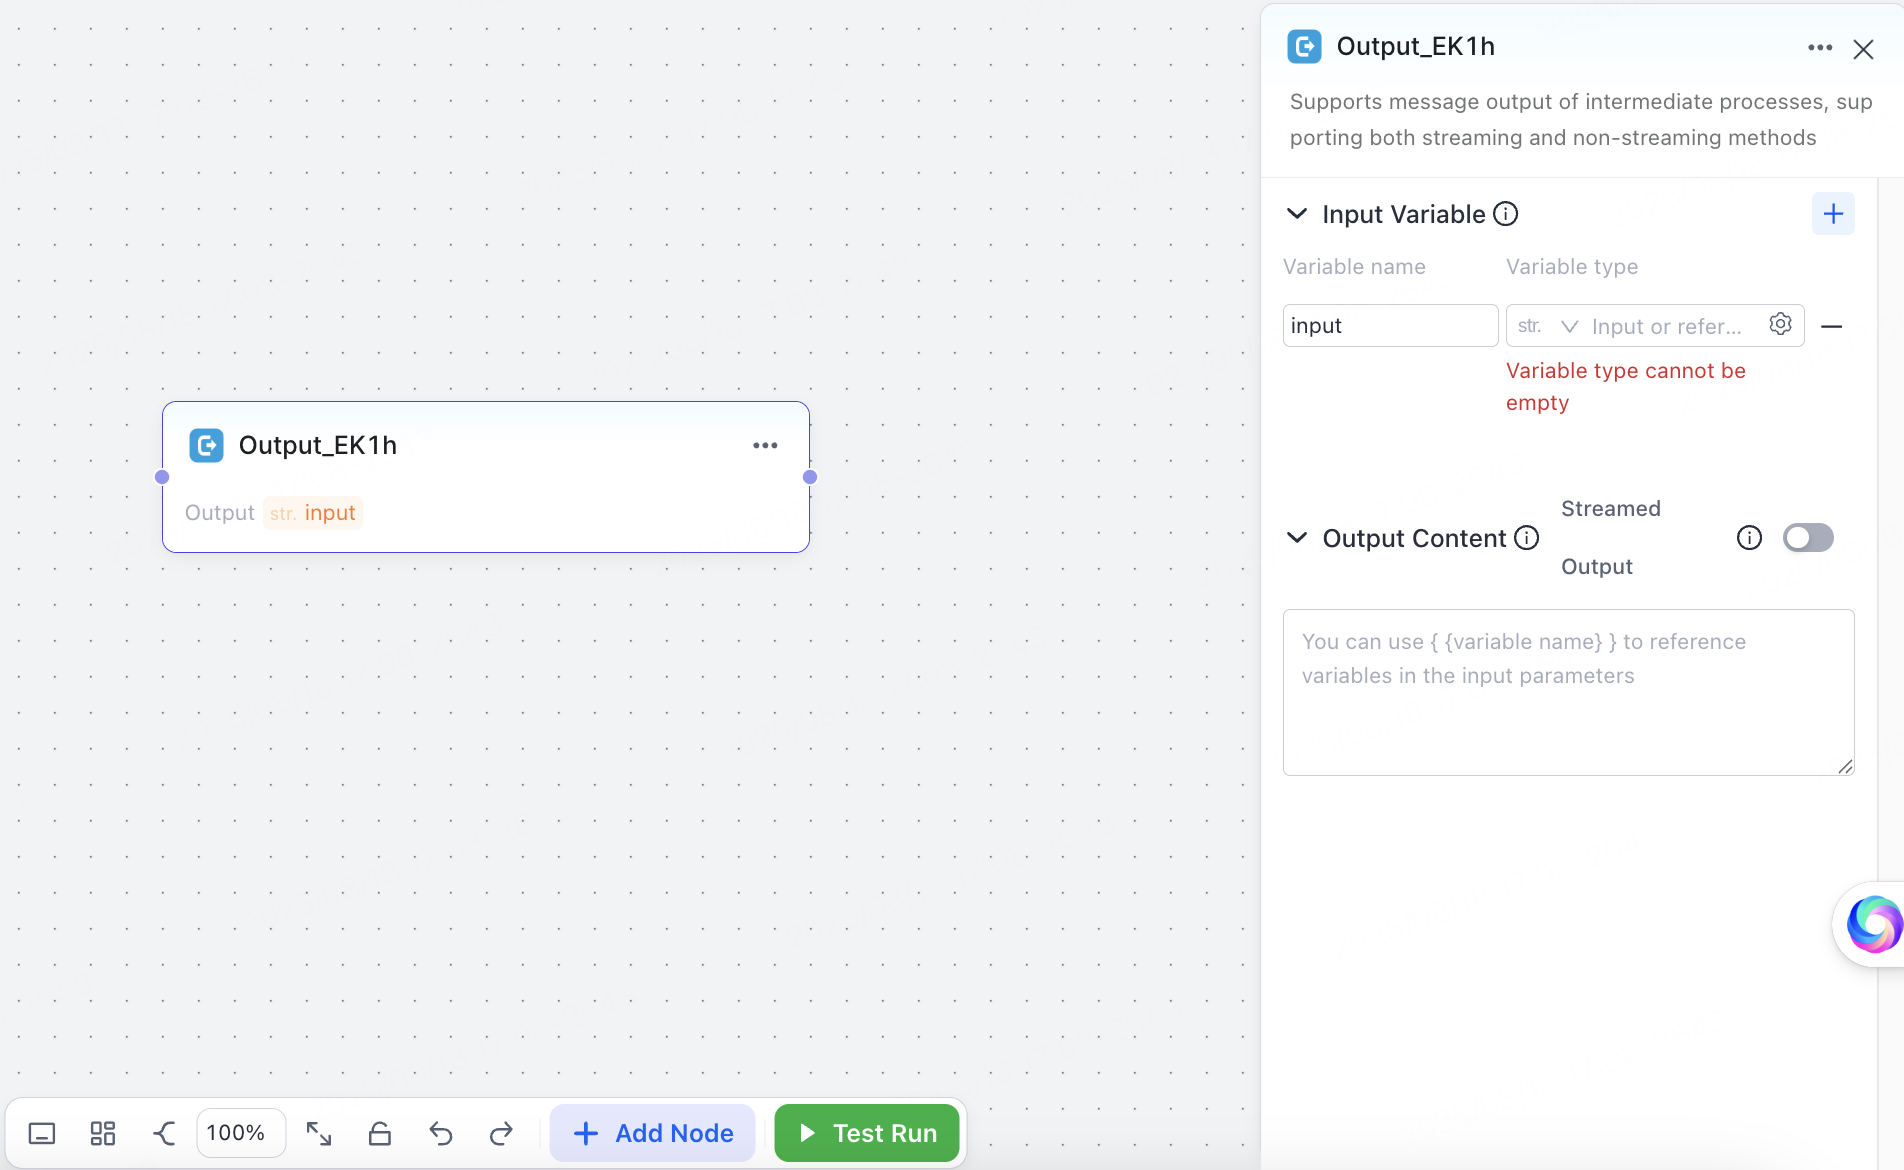
- Input variable — supports dynamic variable references in prompts.
- Output content — supports variable-reference syntax. With streamed output enabled, the model generates content word by word in real time.
End node
The end node closes a logic branch. You configure it the same way as an output node.
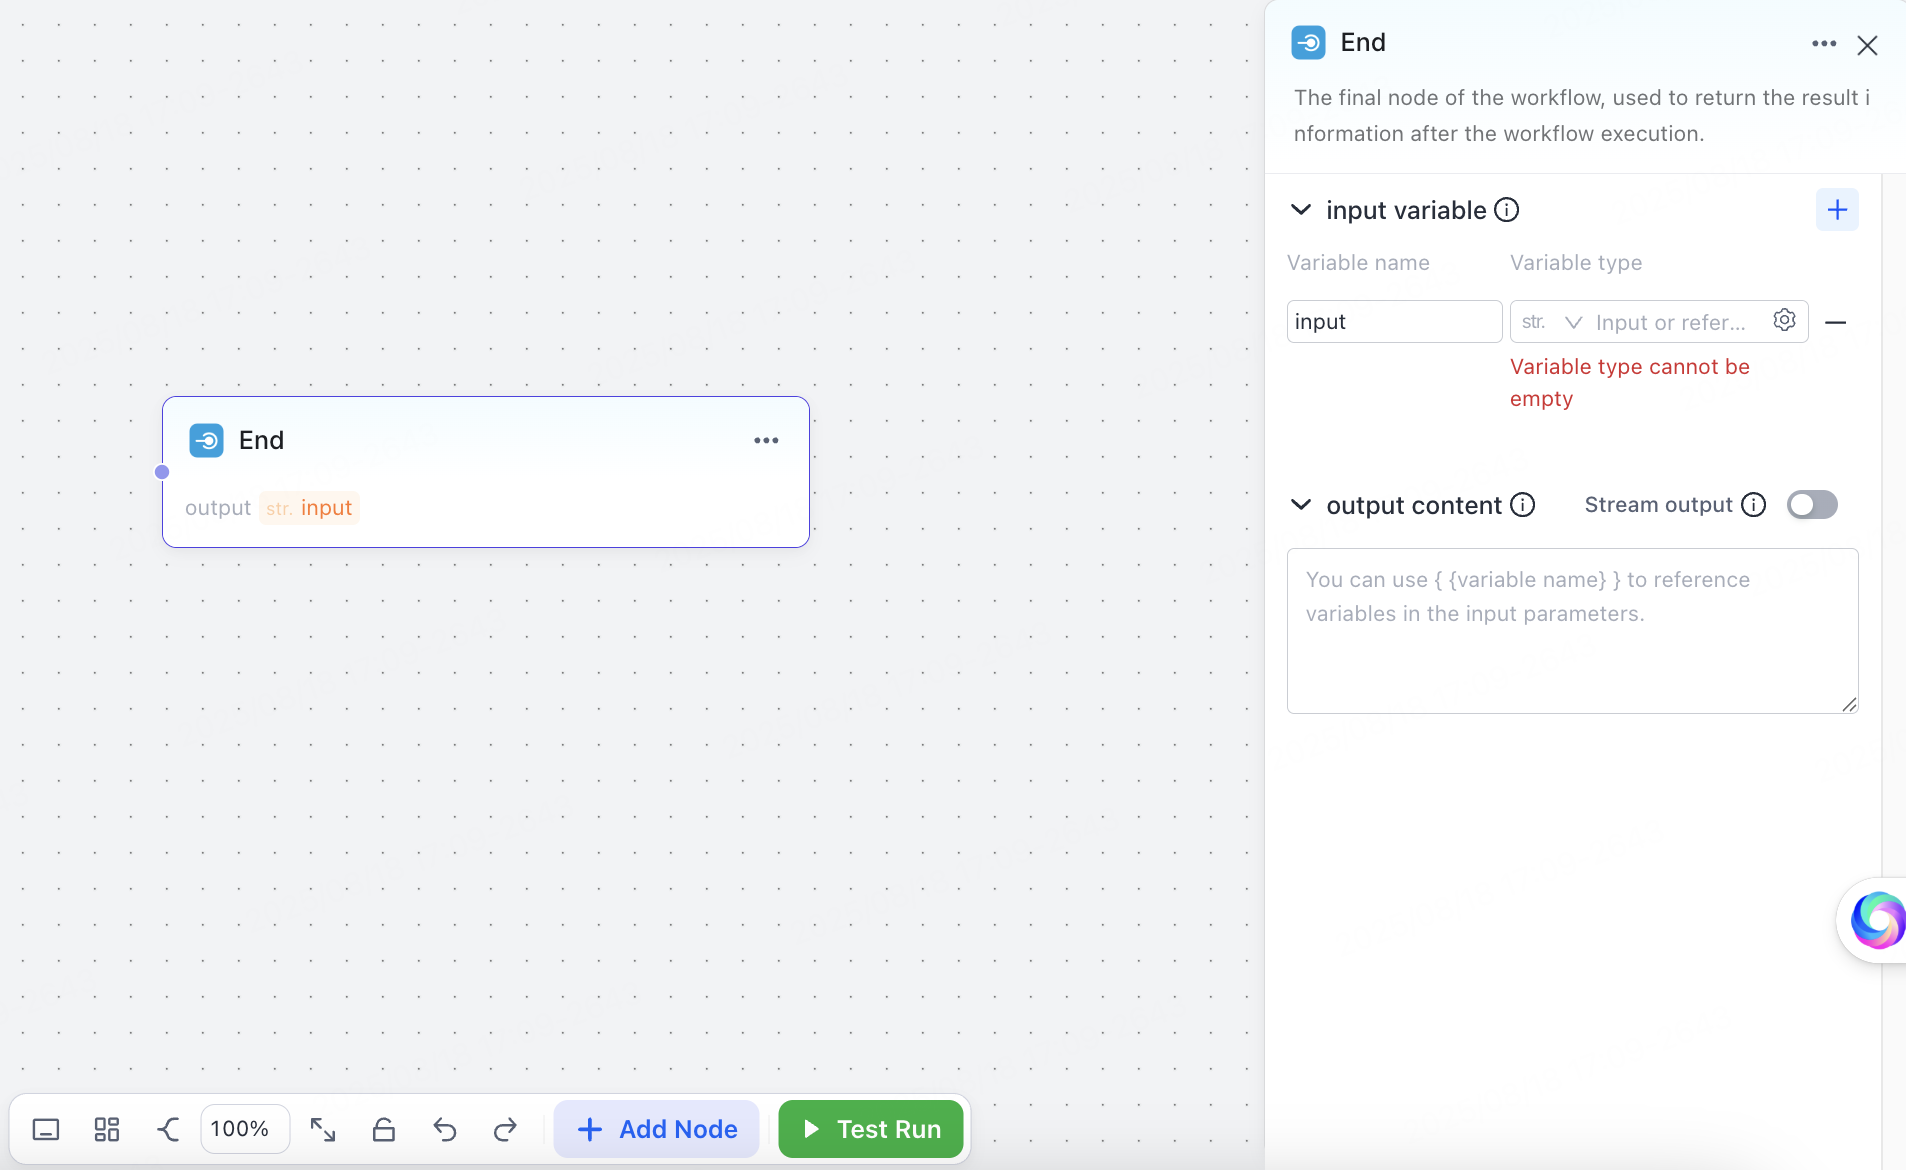
The workflow fails to run if any logic branch does not converge on an end node.
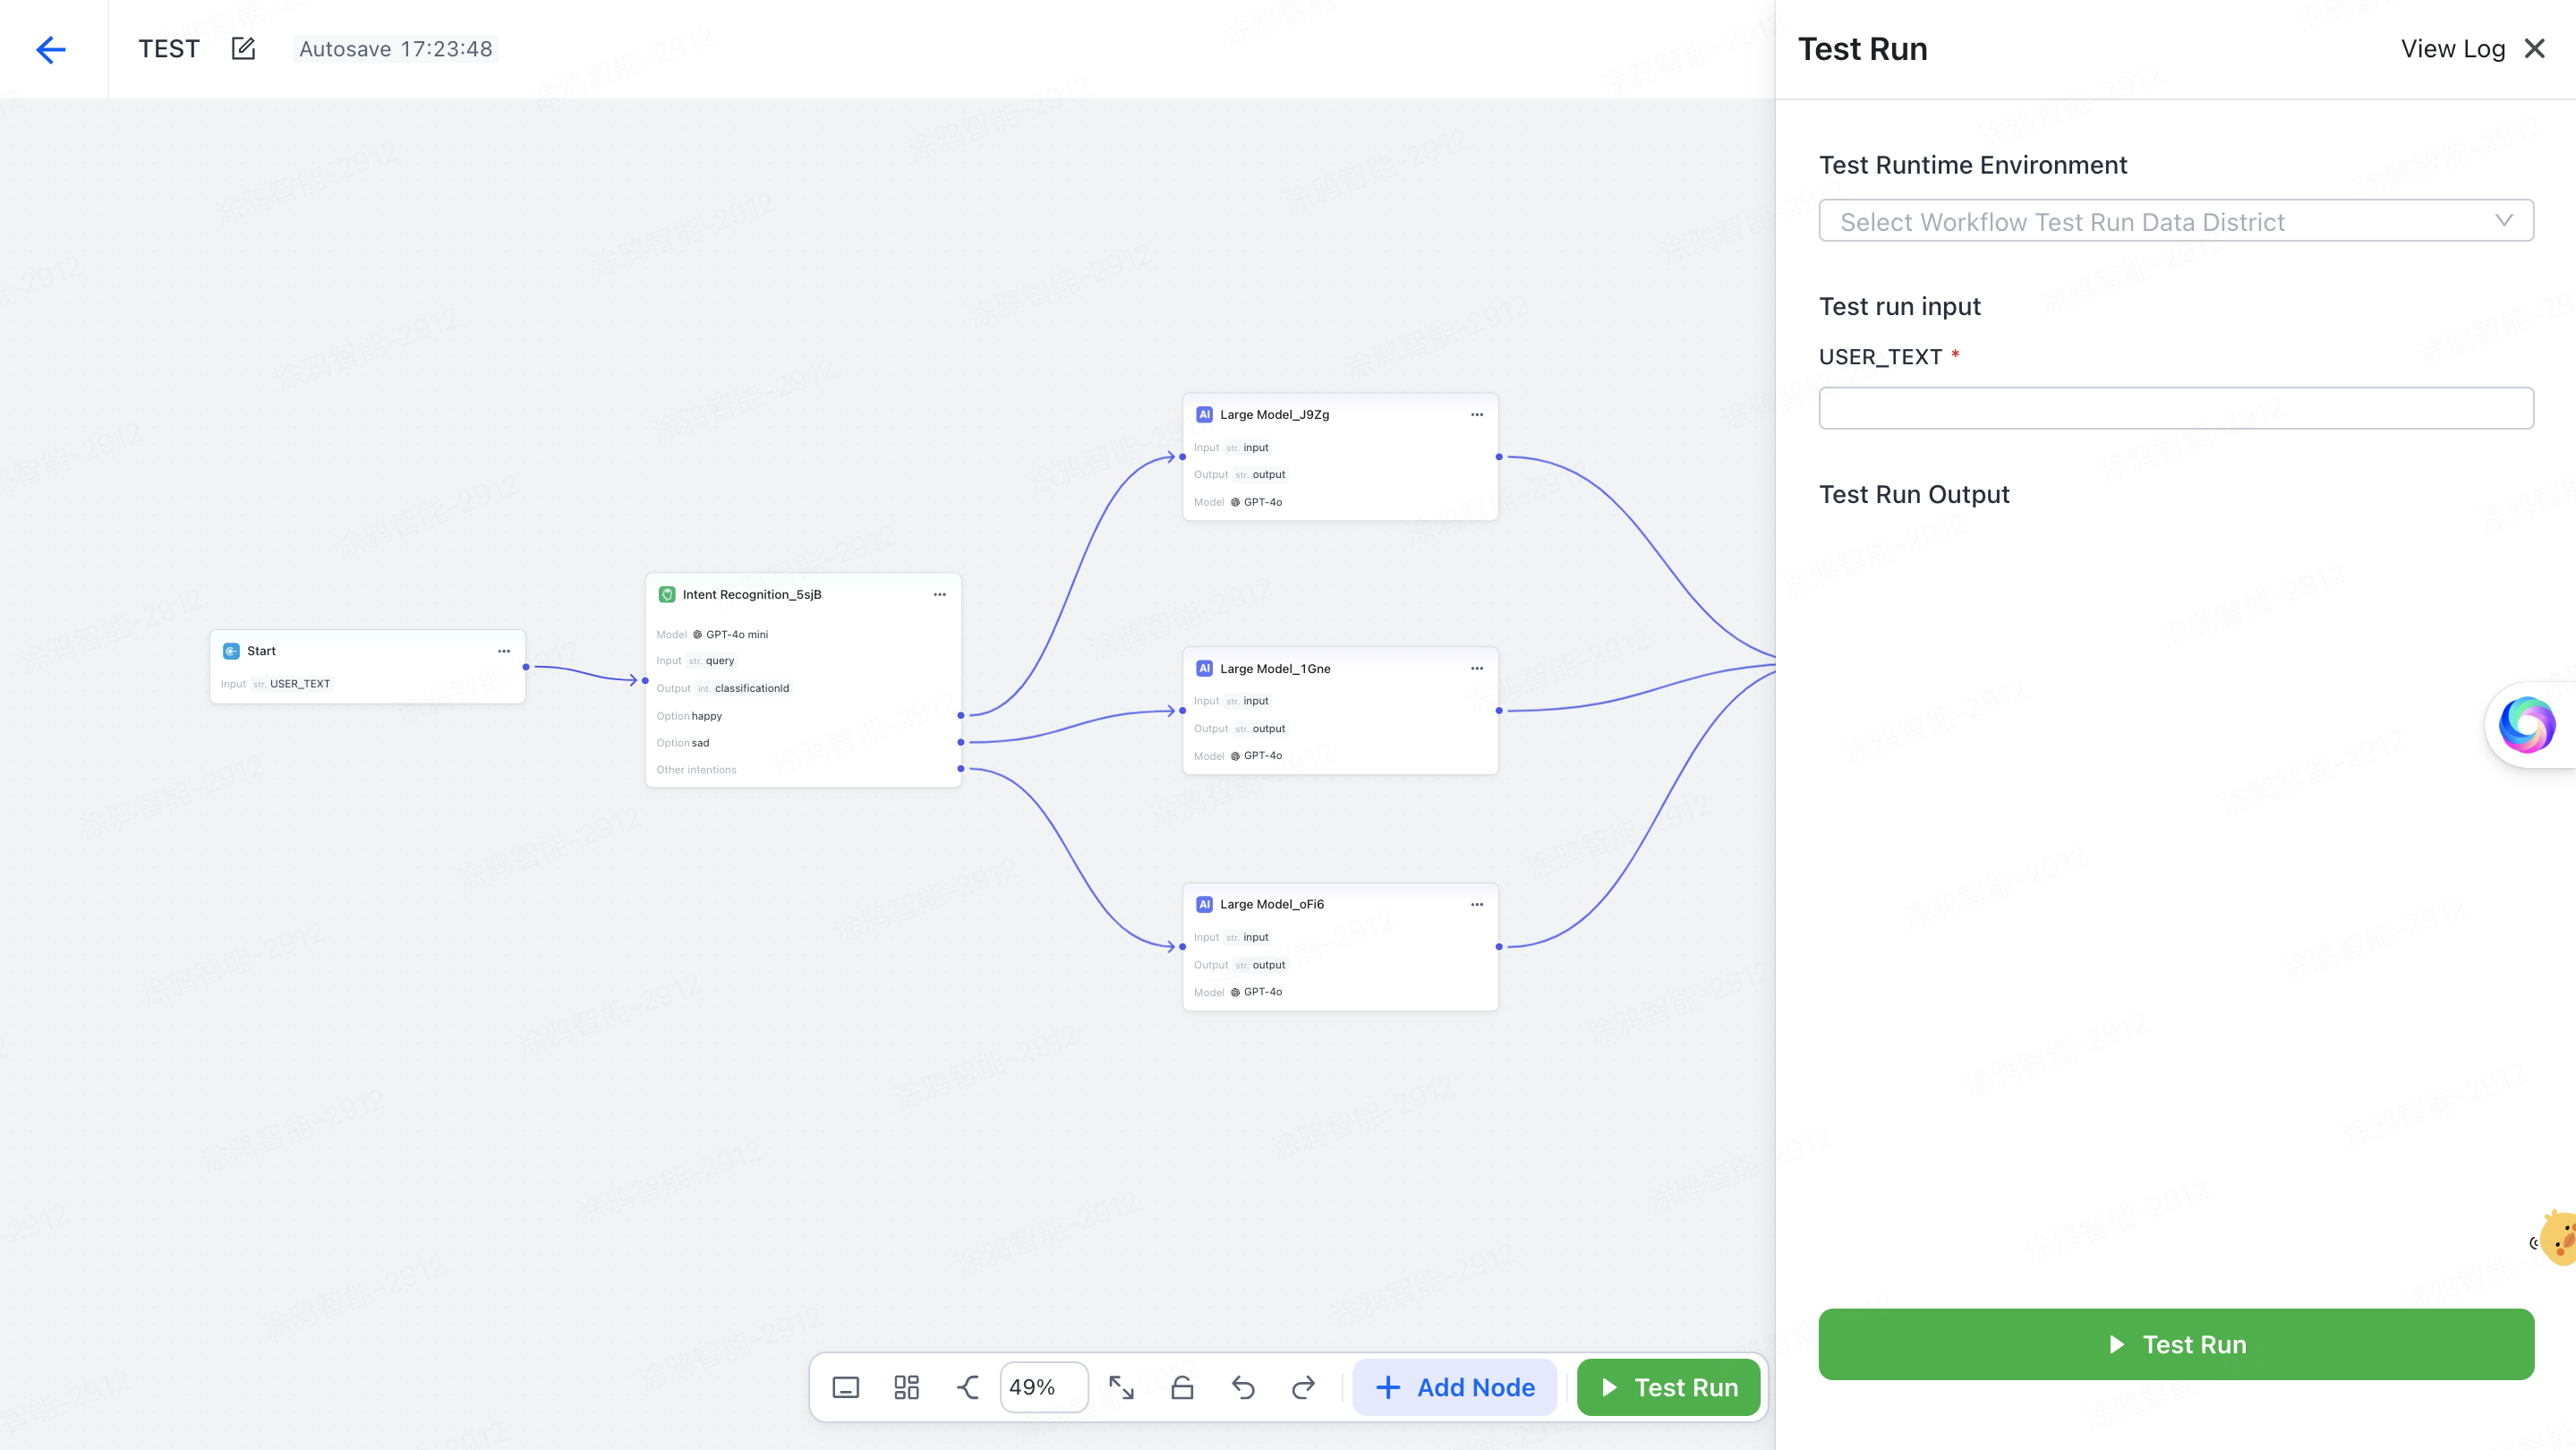
Test run
Select a data center that matches the large model set in the workflow, enter sample input in USER_TEXT, and start the trial run to get the output.
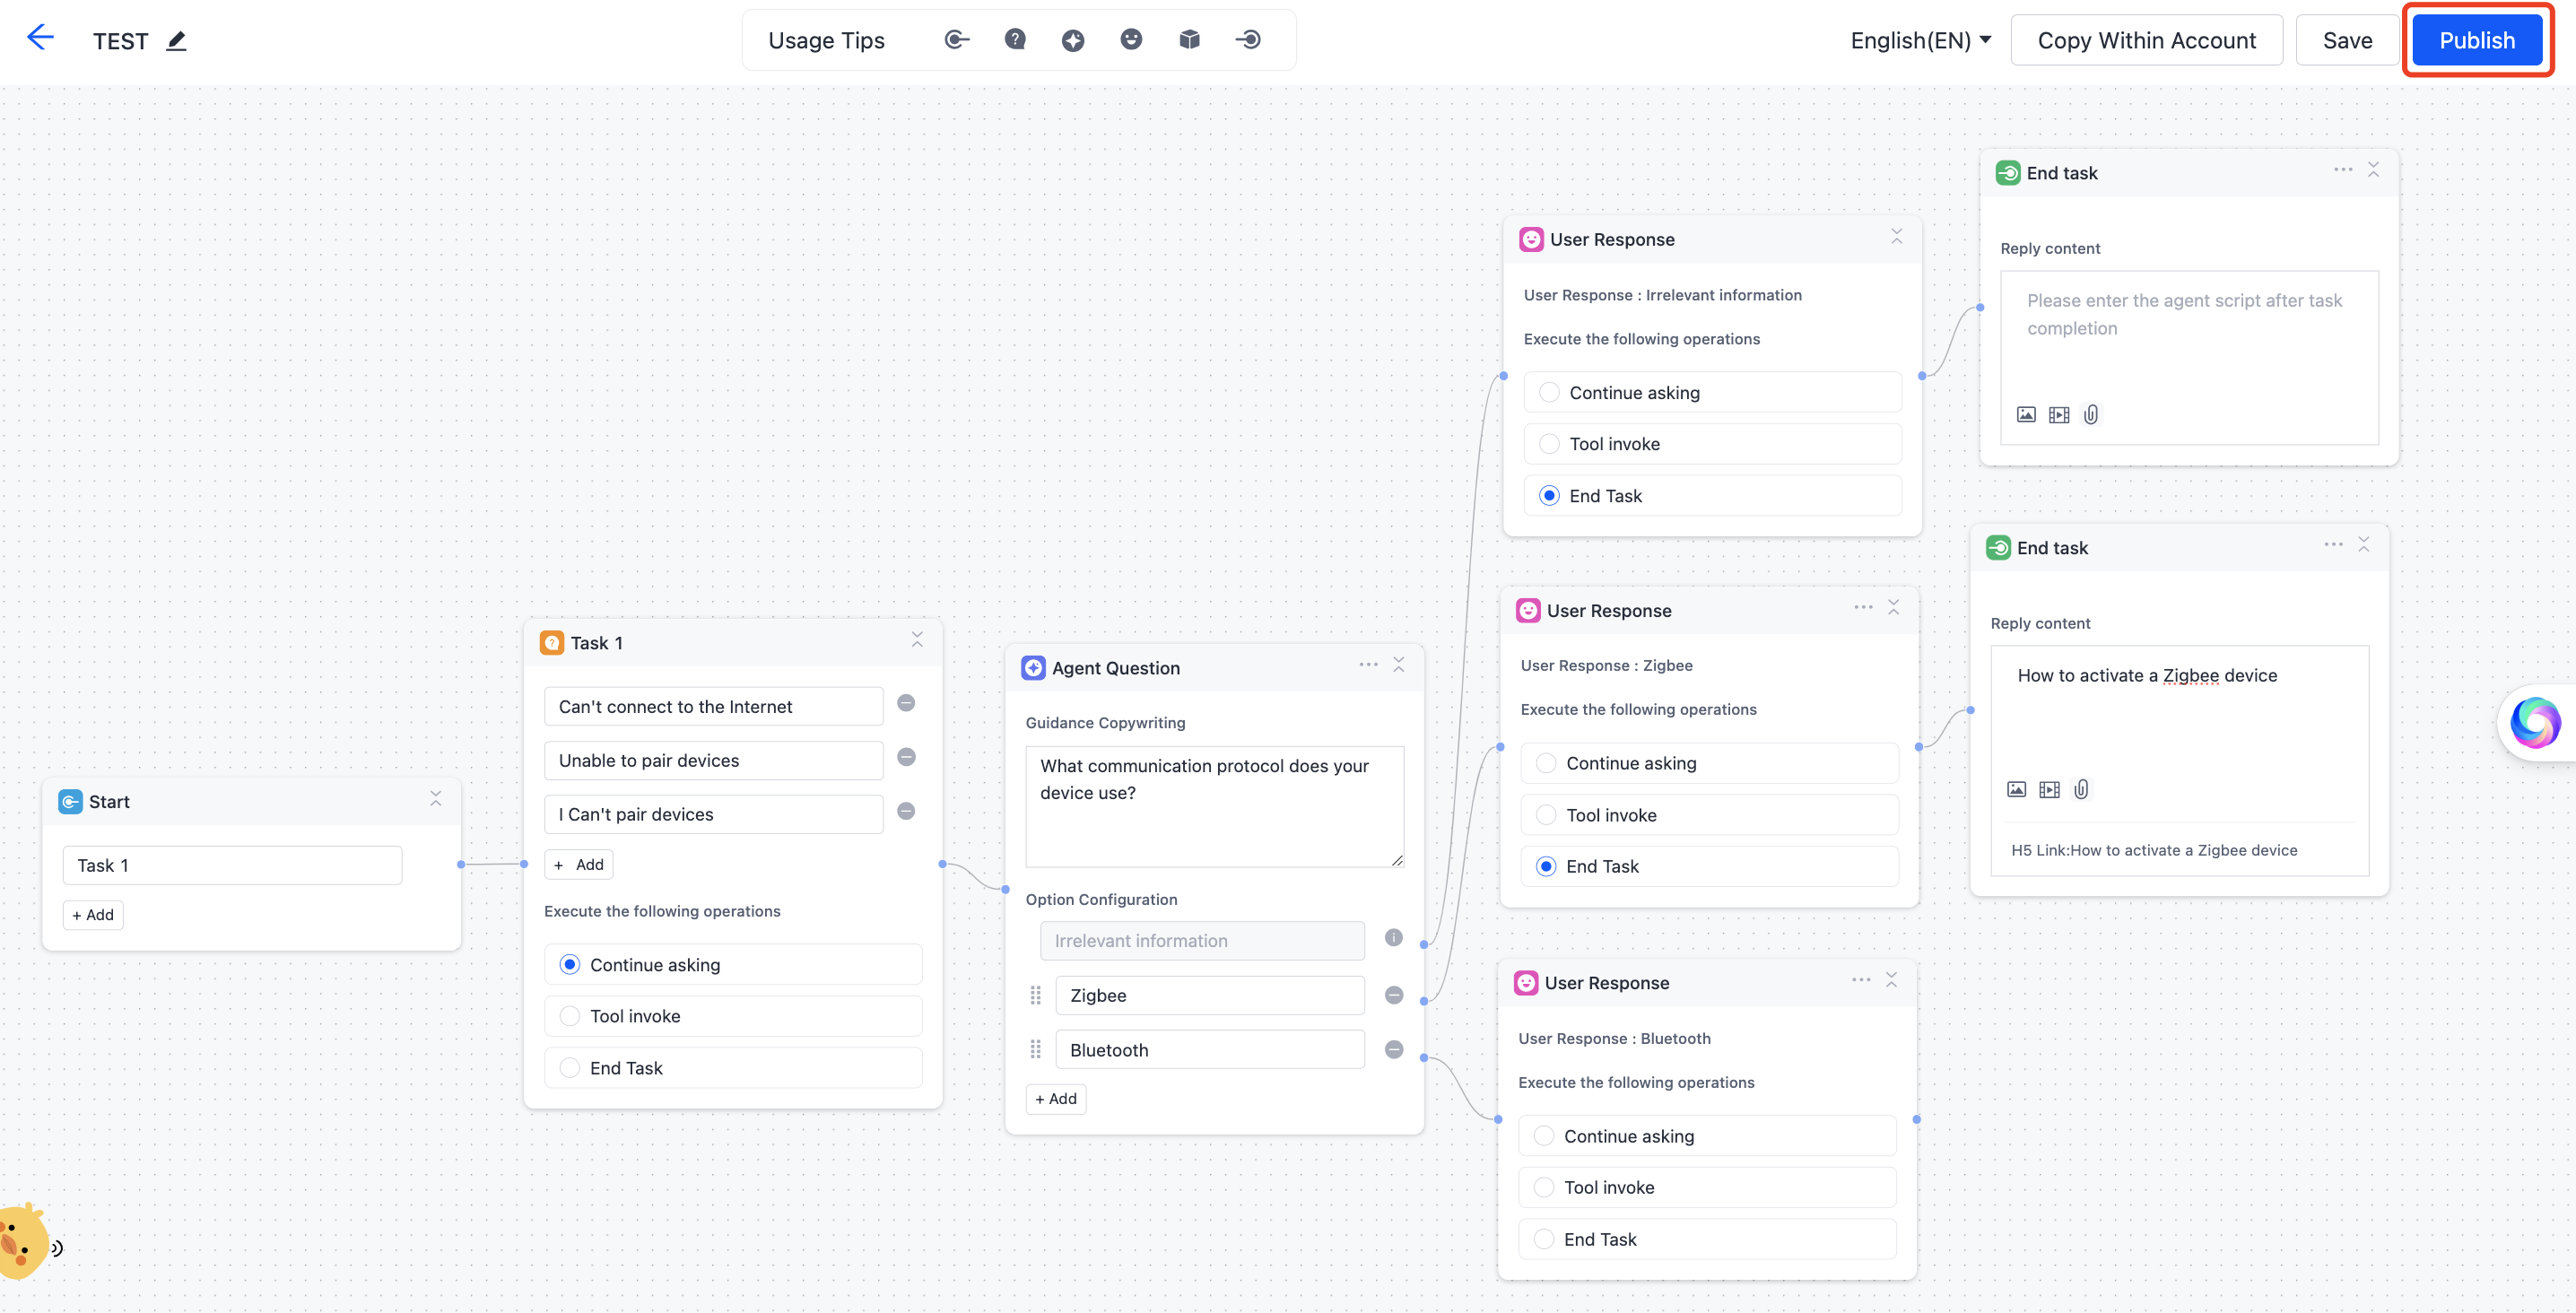
Publish the workflow
When configuration is complete, click Publish in the top-right corner of the workbench. Tuya runs a logic check on the workflow to ensure it is complete; once the check passes, the workflow is published.
After publishing, select the workflow in the agent and click Add Workflow to attach it.

See also
- AI Agent Dev Platform — create an agent and attach a workflow to it
- Variables Management — the variables a workflow reads and writes